
Prenatal Yoga at Home: A Trimester-by-Trimester Setup Guide
Prenatal yoga is one of the few forms of exercise that almost every obstetrician supports through all three trimesters. The pose modifications are well-documented. The benefits for sleep, hip mobility, and labor preparation are well-studied. The part most guides skip is how to set up the practice at home, where the studio environment is not available and the body changes more or less every week.
This is a working guide to what changes by trimester, what stays the same, and what the surface under you needs to do as your body changes shape.
Why Home Practice Is Different From Studio Practice
Studio prenatal classes give you bolsters, blocks, blankets, a teacher who adjusts your alignment, and a floor that is sized for full movement. At home, you are working with whatever you set up, and the setup has to keep working as your body changes.
Three things become more important during pregnancy than they were before:
- Surface size. A standard yoga mat is 24 inches wide. By the second trimester, most poses that involve lying on the side leave your shoulder or hip off the mat. Restorative shapes that need props on either side of the body run out of room.
- Cushion. Joints loosen during pregnancy because of relaxin, the hormone that prepares the pelvis for birth. The same hormone makes wrists, knees, and elbows feel less protected on a thin mat. Six millimeters of cushion makes a noticeable difference by month four.
- Material safety. Every product you bring into the home during pregnancy gets a second look. A mat that off-gasses phthalates, formaldehyde, or flame retardants belongs in the gym, not next to a body growing a baby.
First Trimester: Foundation
The first trimester is mostly about staying consistent. Energy is unpredictable, nausea is common, and the body has not visibly changed. Practice can largely look like what it looked like before pregnancy, with one big exception: deep twists and intense core work get modified or skipped.
What to focus on:
- Gentle sun salutations and standing flows. Stay in the same range you were in pre-pregnancy. Skip the closed twists.
- Hip openers. Pigeon, butterfly, and supported squats start now and continue through the whole pregnancy. They prepare the pelvis and help with hip stiffness.
- Breath work. Three-part breath and extended exhales are useful through labor. Building the habit now means it is available when it matters.
- Skip. Closed twists, deep core work, anything that puts strain on the abdominal wall, and inversions that are new to your body.
Surface needs in the first trimester are similar to pre-pregnancy, but a larger and thicker mat starts paying off here for hip openers and any seated work.
Second Trimester: Adapting
The second trimester is when the body starts visibly changing and most poses need modification. The bump shifts the center of gravity. Lying on the back becomes uncomfortable for some bodies. Side-lying poses become a bigger part of the practice. This is also when most people feel best, which means home practice often increases in frequency.
What to focus on:
- Wide-stance standing poses. Warrior II, side angle, and triangle become more comfortable with feet wider apart to accommodate the bump.
- Cat-cow and tabletop work. Spinal mobility on all fours stays accessible through the whole second trimester. Use a thick mat or fold a blanket under the knees if kneeling gets uncomfortable.
- Side-lying poses. Savasana on the back stops working comfortably around week 20 for most people. The replacement is left-side-lying with a pillow between the knees and one under the bump.
- Supported child's pose. Knees wider than hips, bolster or stacked pillows under the chest. The wider the mat, the more room there is to spread the knees comfortably.
- Skip. Full backbends, deep twists, supine poses held longer than a few minutes, and anything that puts the belly on the floor.
Surface needs in the second trimester are where mat size and cushion become non-negotiable. A 5x7 mat fits side-lying with props on both sides. A standard yoga mat does not.
Third Trimester: Slowing Down
The third trimester is mostly about staying mobile, sleeping better, and preparing for labor. The exercises get shorter, gentler, and more restorative. The body is doing enormous metabolic work just by existing, so the practice contributes by recovering, not by adding load.
What to focus on:
- Squats. Supported squats with a wall or sturdy chair behind you open the pelvic outlet and are one of the most useful labor-preparation positions.
- Cat-cow with deeper breathing. Gentle spinal movement that also serves as a labor coping practice.
- Side-lying restorative poses. Long holds (5-10 minutes) with pillows supporting the bump, between the knees, and under the upper arm. This is the position most prenatal yoga teachers default to for the final 8 weeks.
- Breath practice for labor. Long exhales, low-pitched humming, and three-part breath all transfer directly to labor coping techniques.
- Skip. Anything that requires deep balance, prolonged time on the back, or significant ab engagement.
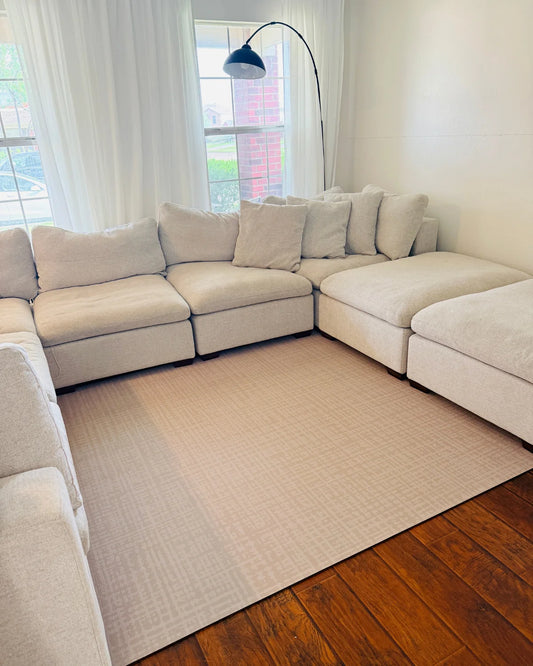
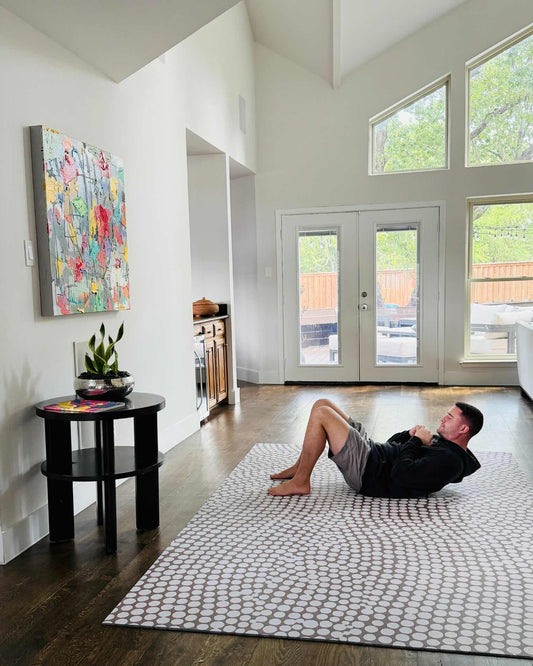
Surface needs in the third trimester are about comfort and accessibility. Getting up and down from the floor is harder. A mat that stays out, looks like decor, and is large enough to support full restorative setups becomes part of how you keep practicing.
What to Look For in a Mat for Prenatal Practice
- At least 5x7 feet. Restorative side-lying poses with props on both sides need the space.
- Six millimeters of cushion. Joint protection becomes more important as relaxin loosens connective tissue.
- Non-toxic materials. Phthalate-free, BPA-free, flame-retardant-free, formaldehyde-free. Tested to recognized standards like REACH and EU POPs.
- Single-piece construction. Interlocking tiles have seams that catch and shift during side-lying work.
- Non-slip on hard floors. Balance changes during pregnancy. The mat should not.
- Wipeable surface. Easier to maintain than a fabric or open-cell mat.
Where Swankymat Fits
Swankymat is a 5x7 or 6x9 foot single-piece mat with 6mm of high-density closed-cell cushion. It is BPA-free, phthalate-free, flame-retardant-free, and exceeds U.S. and European safety standards. The inks are Greenguard Gold certified.
The size makes it work for the second-trimester shift to side-lying practice and the third-trimester move to restorative work with props. The cushion makes kneeling and seated poses comfortable through the joint changes of late pregnancy. The materials make it safe to keep in a bedroom or living room where you and a newborn will spend time after the baby arrives, which is the other reason customers buy a prenatal mat: it becomes the postpartum recovery mat and then the play mat. See our postpartum floor recovery routine for what that next phase looks like.
HSA and FSA Coverage for Prenatal Practice
Yoga mats become HSA or FSA eligible when a licensed medical provider writes a Letter of Medical Necessity tying the mat to a specific health condition. Prenatal yoga is regularly prescribed for pelvic floor health, lower back pain, sleep, and labor preparation. Customers with a documented prenatal yoga recommendation from their OB or midwife can typically use HSA or FSA funds toward the mat. Swankymat partners with Gale to provide the Letter of Medical Necessity through a licensed medical provider for qualifying customers.
The Practice That Survives Each Trimester
The best prenatal yoga practice is the one you actually keep doing. That usually means a setup that disappears into the room when not in use, accommodates the body you have at the moment, and supports the modifications your trimester needs. A 5x7 single-piece non-toxic mat is the foundation. The poses change. The surface should not have to.